The World’s Best
E-Signature Solution
Unlimited free digital signatures, blockchain security, integrated identity checks and multiple file formats. Create your free account today.

What to expect from KwikSign
Unlimited Free Digital Signatures
Experience the freedom of unlimited digital signatures.. Our free tier provides a generous 2Gb of storage and the ability to sign, send and share any file format including DOC, PDF, XLS, MOV, WAV and more. Perfect for signing contracts, managing files and creating irrefutable audit trails.
Tamperproof Blockchain Technology
KwikSign offers unparalleled security for your digital transactions. All signatures are recorded on a blockchain creating a permanent and tamperproof record with the strongest security available in the market today. Why take the risk with lesser technologies.
Integrated Identity Validation
If you are signing a particularly important contract and want to ensure the signatories are indeed who they say they are, KwikSign provides an integrated identity verification (kyc) check for maximum legal protection.

Sign on
the Go
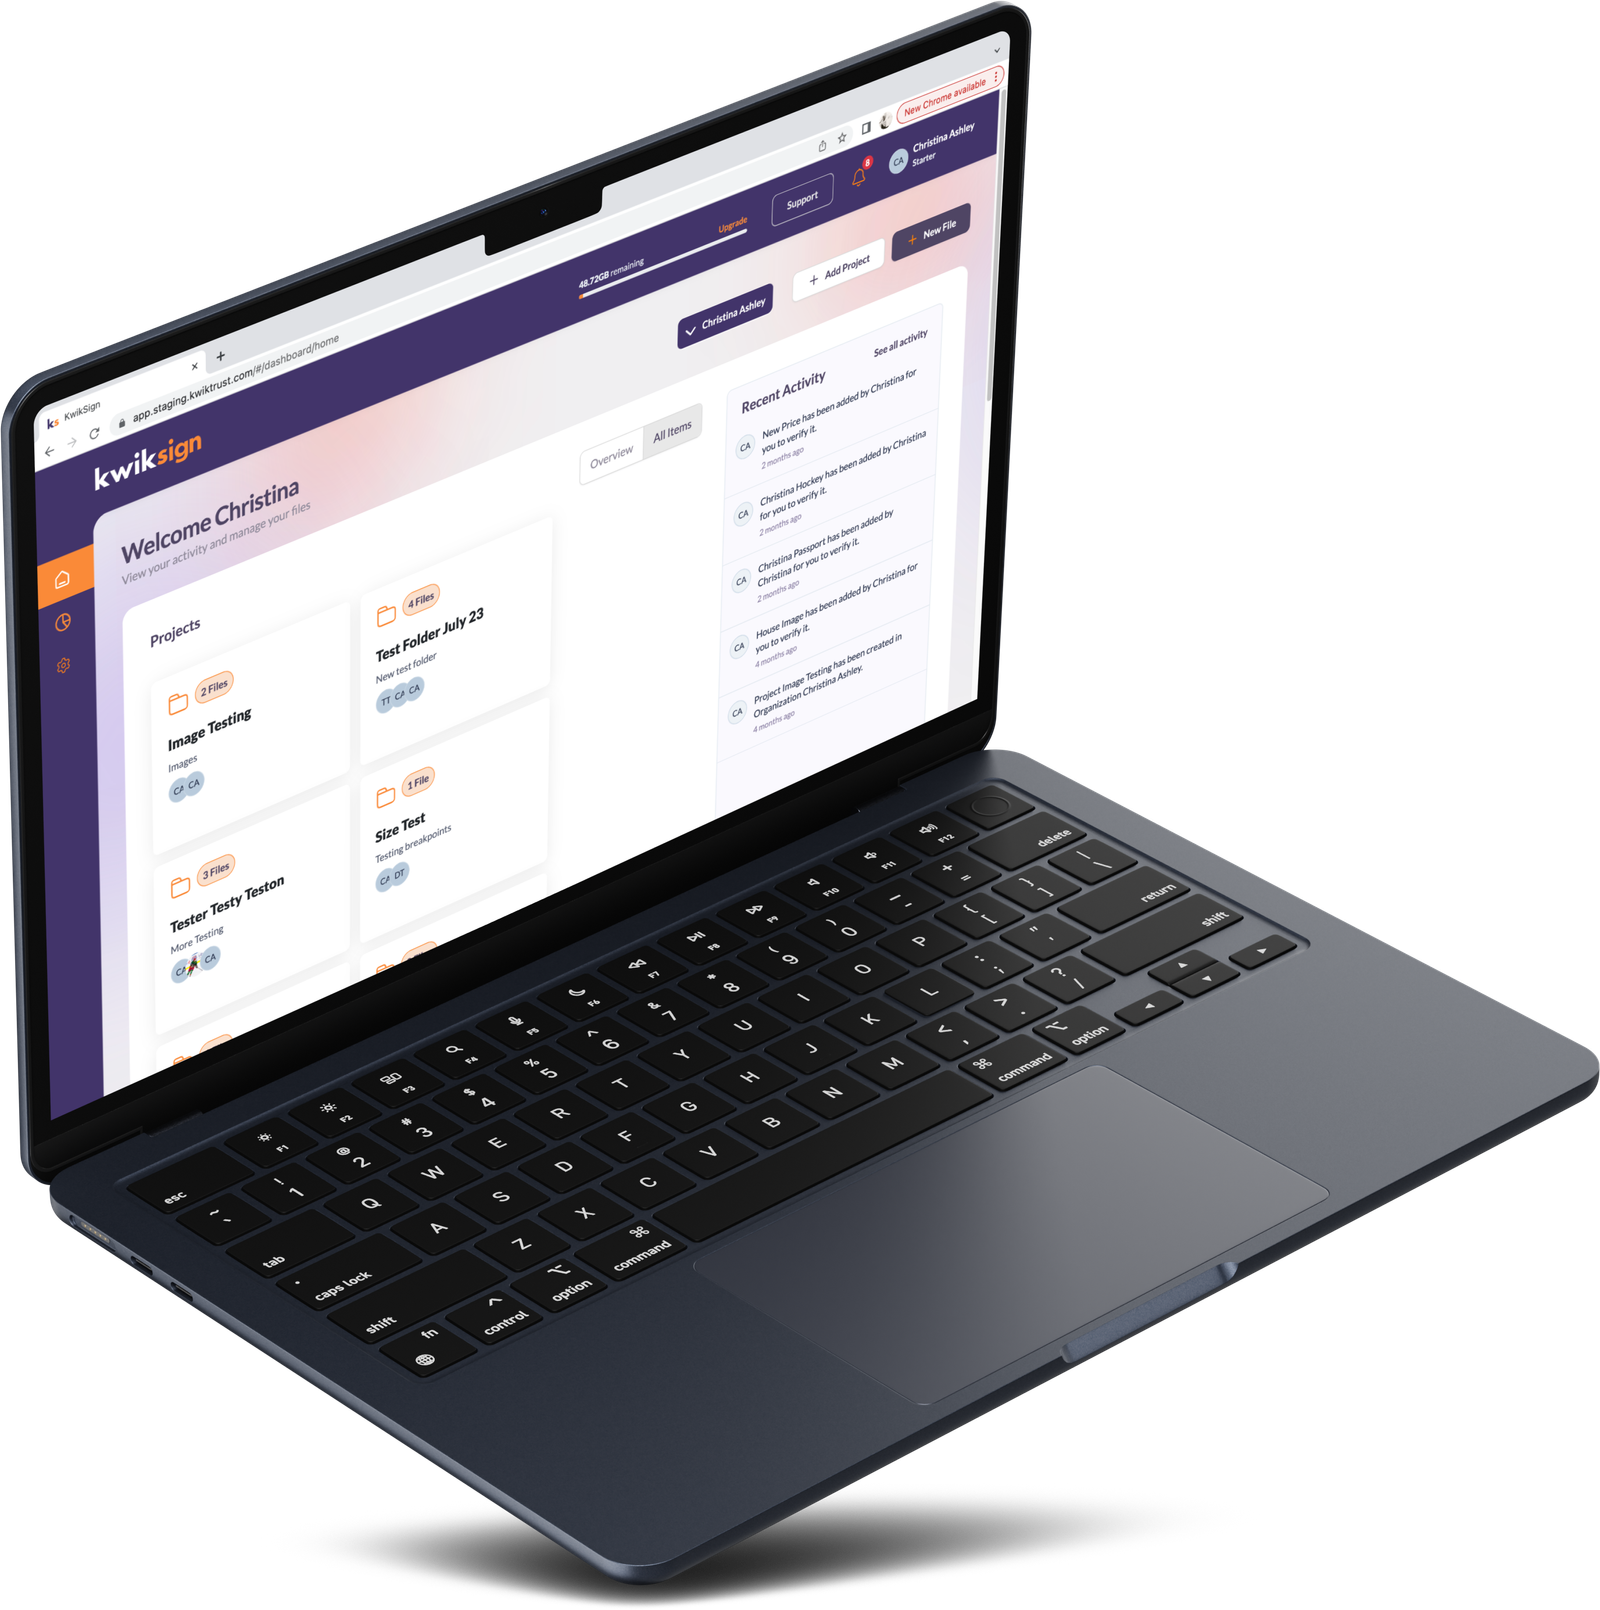
Stay agile and efficient with KwikSign’s simple and easy to use platform. Sign files from anywhere, at any time, on any device. Perfect for the fast-paced, modern business world and ideal for remote or disconnected teams.
Key Features
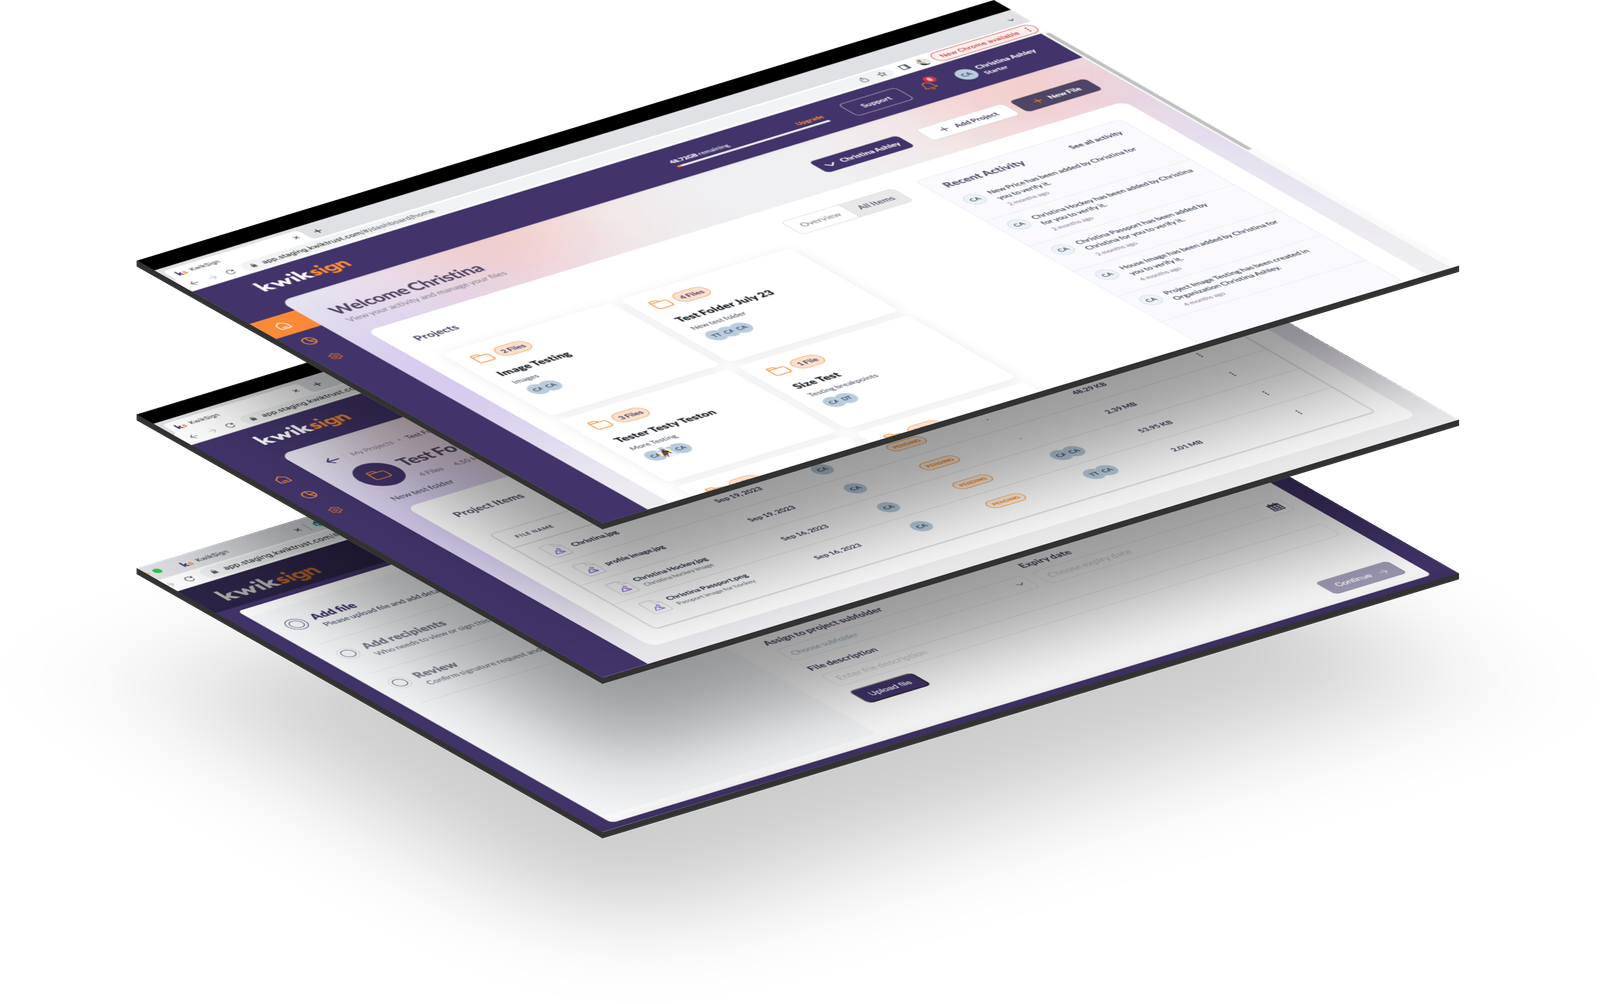
KwikSign has everything you would expect to find on any digital signature platform plus a wide range of unique features built in consultation with users.

Tamperproof Audit Trail
Secure your files with KwikSign’s tamperproof audit trail. Every transaction is immutably recorded, offering complete transparency and accountability, ensuring the integrity of your digital records.

Document Validation
Verify with certainty. KwikSign’s file validation system ensures the authenticity of your files, including PDF, DOC, XLS, PPT, MOV and WAV formats, providing peace of mind and legal compliance in every digital signature.
Multi-Sig
Enhance security with KwikSign’s multi-signature functionality. Require multiple approvals for critical documents, adding an extra layer of verification and protection for your sensitive transactions.
Secure
Security is paramount at KwikSign. Our solution is built on robust, blockchain-based technology and AWS managed servers, ensuring that your documents are protected with the highest level of security in the market.
KYC
Know Your Customer (KYC) compliant, KwikSign simplifies customer verification processes. Our platform aids in meeting regulatory requirements, ensuring safe and compliant business operations.

Enterprise Ready
KwikSign is enterprise-ready and scalable to meet the demands of any organization, large or small. Our API enabled solution integrates seamlessly with your existing systems, enhancing your document management workflows with ease and efficiency. Contact us to Book a Demo.
★★★★★
“We have used several document management and e-sig tools over the years, this is the first one we really like.”
★★★★★
“I needed a quick and simple free solution, I couldn’t believe how easy it was.”
★★★★★
“There has to be a catch, no one gives away free signatures and 2GB of free storage, this is brilliant!”
★★★★★
“My team use this to coordinate over 5 time zones, with clients that require top level security and compliance. It makes our lives so much simpler.”

Own your own creativity
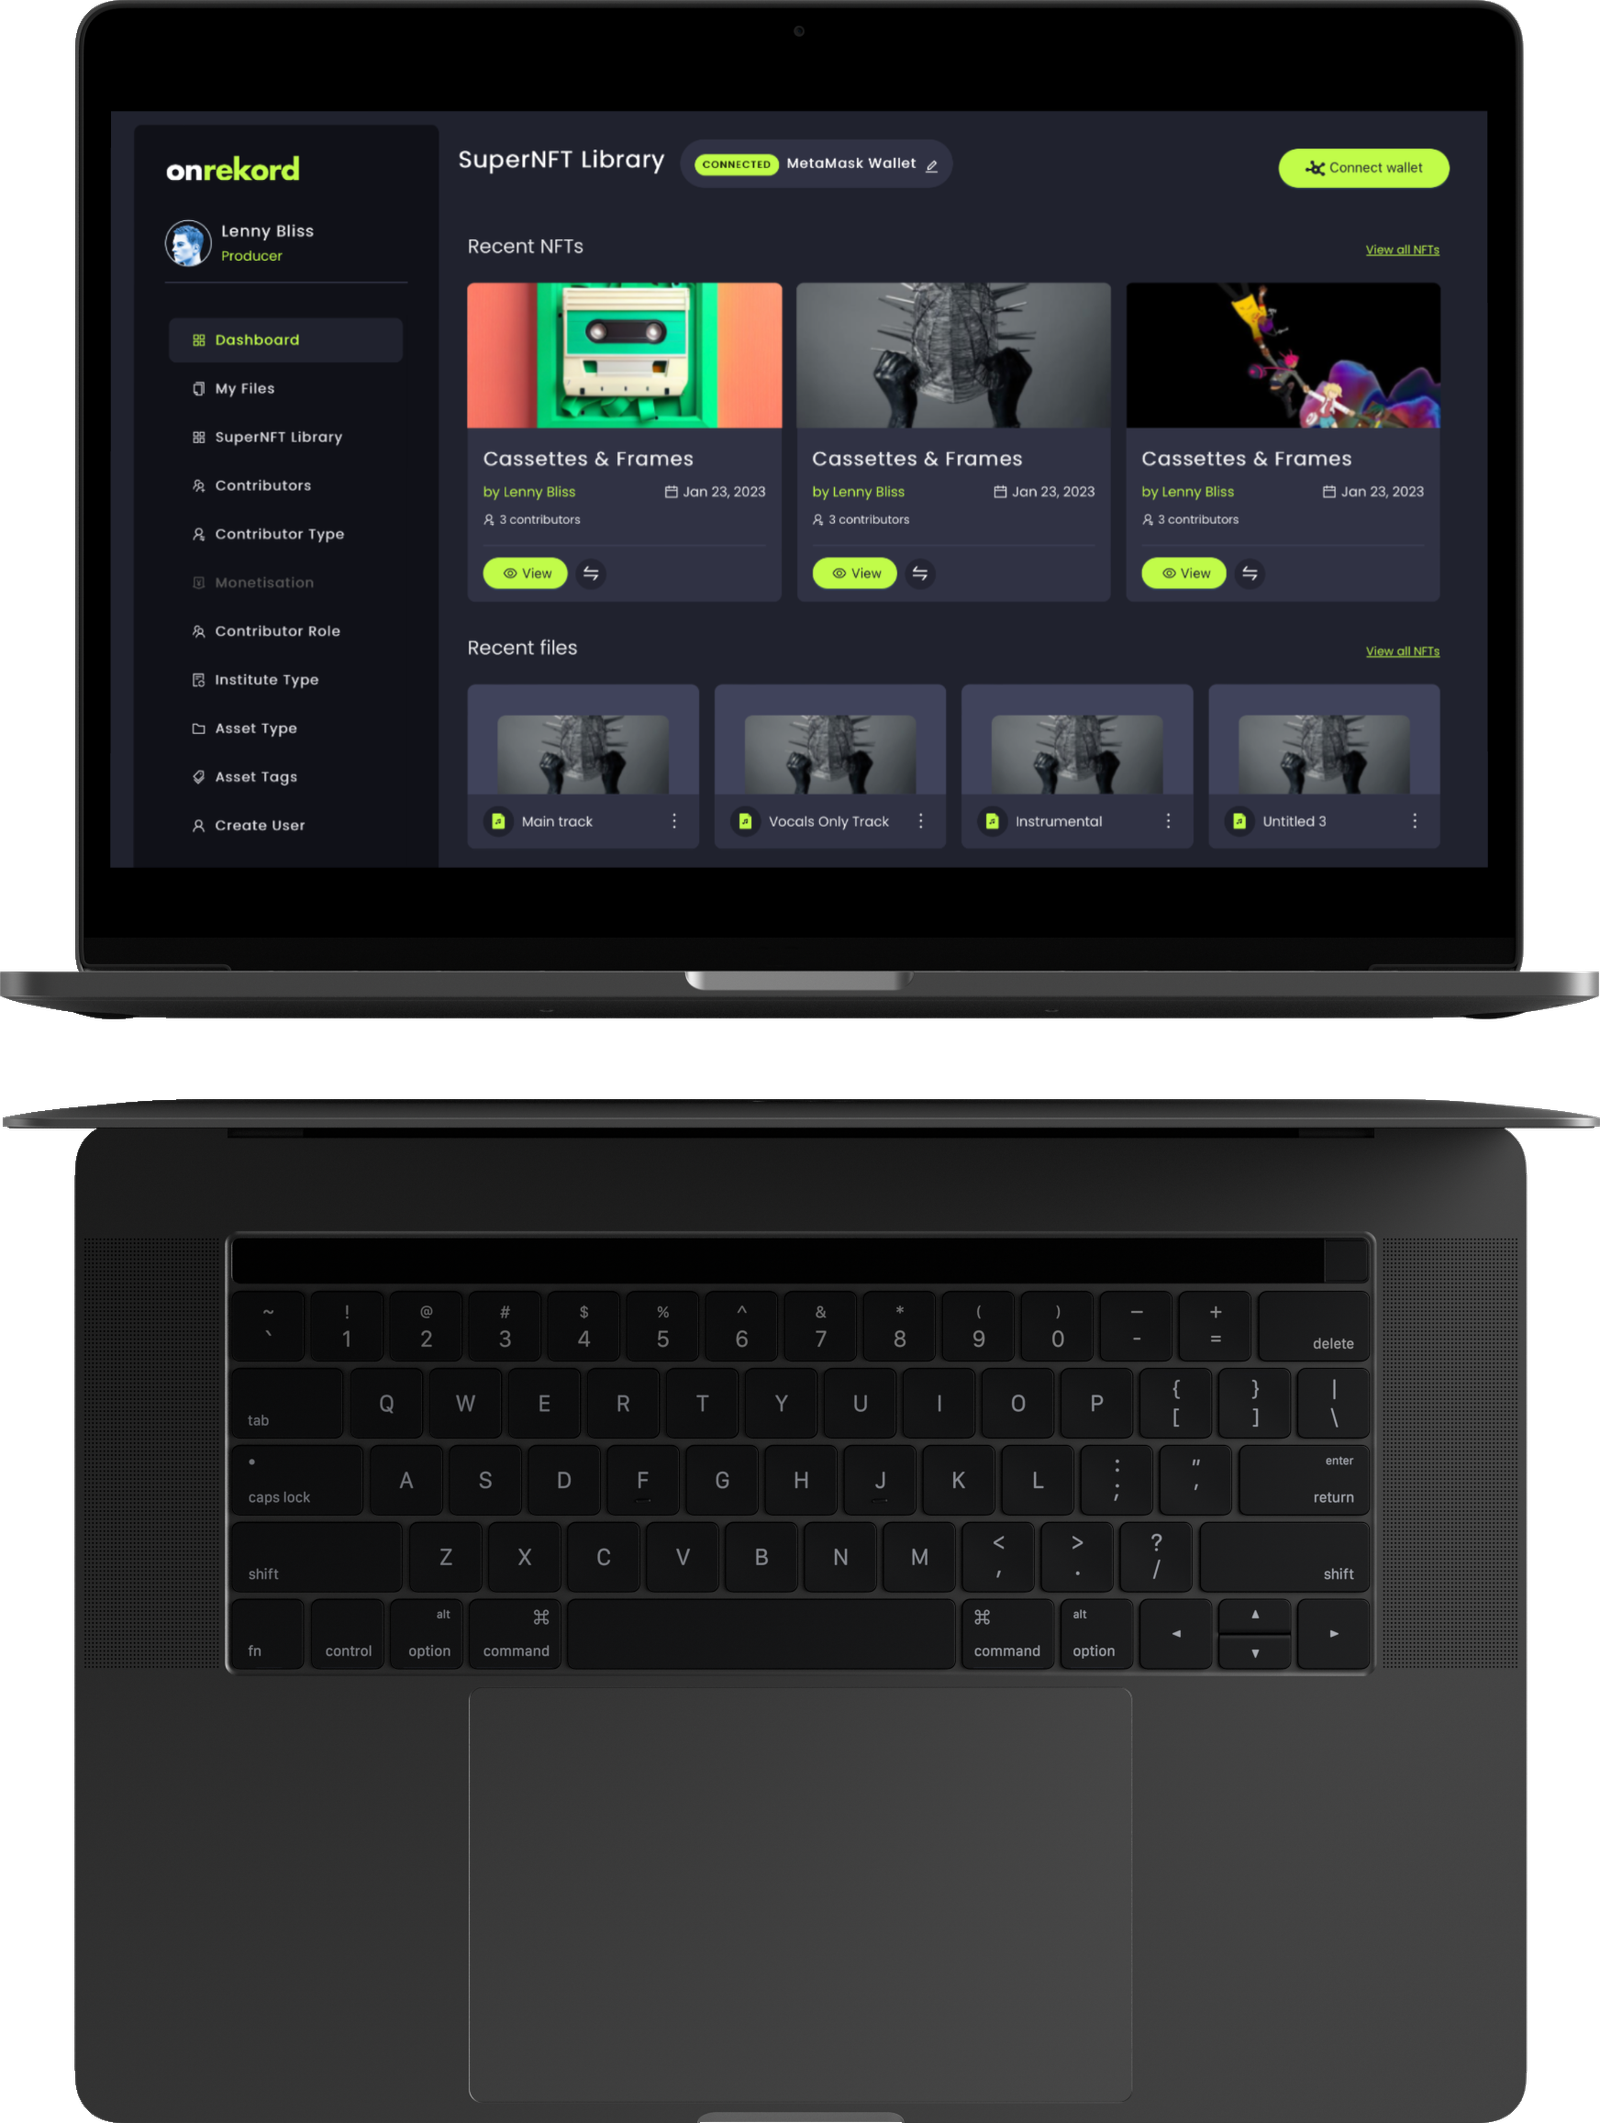
OnRekord is an incredibly exciting new product for the music industry built on the KwikTrust solution. OnRekord empowers creators to:
1. Protect your copyright.
2. Create new revenue streams.
3. Get paid more quickly.

Do you need a free alternative to Docusign?
KwikTrust provides:
Better Value – Unlimited free digital signatures
Greater Security – All signatures are recorded on a blockchain
Full Transparency – integrated signatory identity checks (kyc)
More Versatility – upload any file format – doc, pdf, xls, ppt, mp4, wav and many more
Create your free account today.
KwikTrust represents a technological leap forward in how we manage our digital assets. By combining state of the art blockchain technology with enhanced process and asset management, KwikTrust is revolutionizing ownership, trust and security online. KwikSign and OnRekord are just two of many applications built on the KwikTrust platform which service a myriad of global markets.
With a global team across North America, Europe and Asia, KwikTrust serves customers efficiently and effectively with local knowledge and a commitment to excellence.
To learn more about KwikTrust solutions please follow us on social media or get in touch.
Get in Touch
Product & Account Support
Looking for information or help with your existing KwikSign account? We are here to help. Check out our support centre below.
Talk to Our KwikSign Account Team
Interested in booking a demo? Want to see the full power of what KwikSign has to offer? Not sure where to start? Our team is happy to help you every step of the way. Fill out the form below and we will get back to you ASAP.
US Office: Kwik Group Inc. 440 N Wolfe St, Sunnyvale, CA 94085 | UK Office: Kwikt Ltd. 69 Wilson St, London, EC2A 2BB


Follow us


